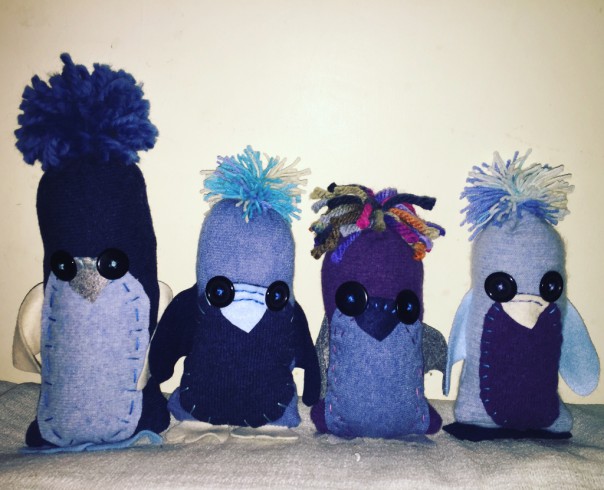
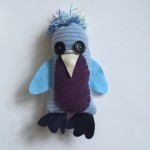
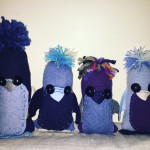
Turn a worn, old woolly jumper or two into a penguin (or four!)
Recycle a holey but loved woolly jumper into a softie you can love forever.
Me and my Woolly Jumper Penguins are taking part in the brilliant Sew a Softie for the Festive Season project by Coloured Buttons which aims to get everyone sewing.
Here’s a little bit about the Sew a Softie project:
“Sew a Softie is an initiative that aims to ignite a love of hand sewing in a new generation. It encourages parents and children to turn off their computers, put down their smart phones and discover the fun and fulfillment that comes from creating a simple-to-sew softie together.”
This is a simple sewing project for first time and experienced sewers alike.
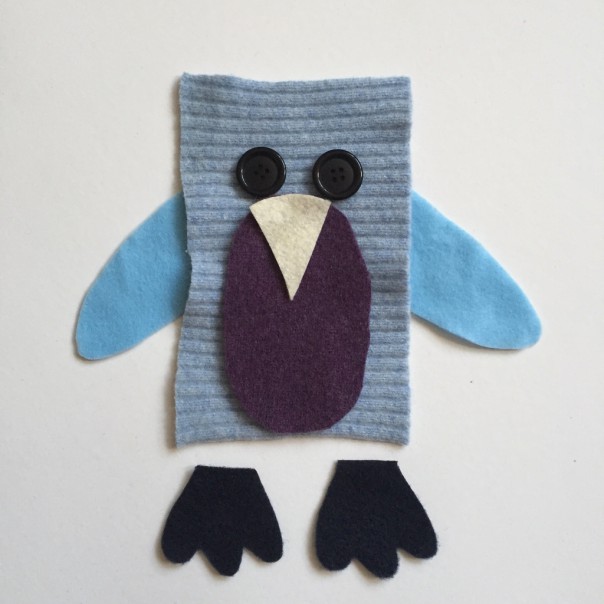
The penguin’s body and tummy panel are made out of a woolly jumper.
The rest of the features are cut out of felt with button eyes.
What you’ll need:
A woolly jumper or two
Contrasting felt
Embroidery thread
Needle
Sewing machine (optional)
Wool
Buttons
Scissors
What to do:
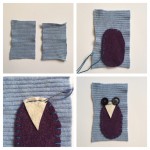
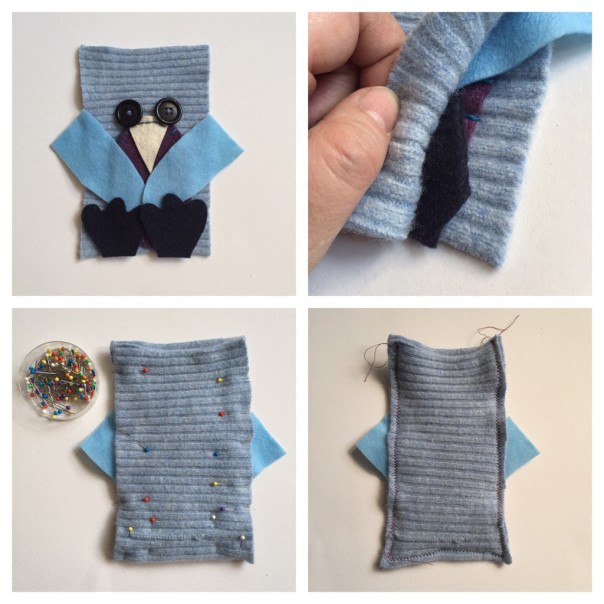
Cut two pieces of woolly jumper into rectangles.
Using embriodery thread and a stitch of your choice, sew an oval shaped tummy on to the front piece of the penguin body.
Cut a beak shape out of felt (we trimmed it down once the penguin was finished) and sew on to the top of the tummy panel.
Sew two buttons on for eyes.
Cut out two wings and two feet out of felt and lay them all onto the front of the penguin then lay the back piece on top.
Pin around three sides leaving the top open.
Sew around the edges using running stitch by hand or sew a zig zag stitch on a sewing machine.
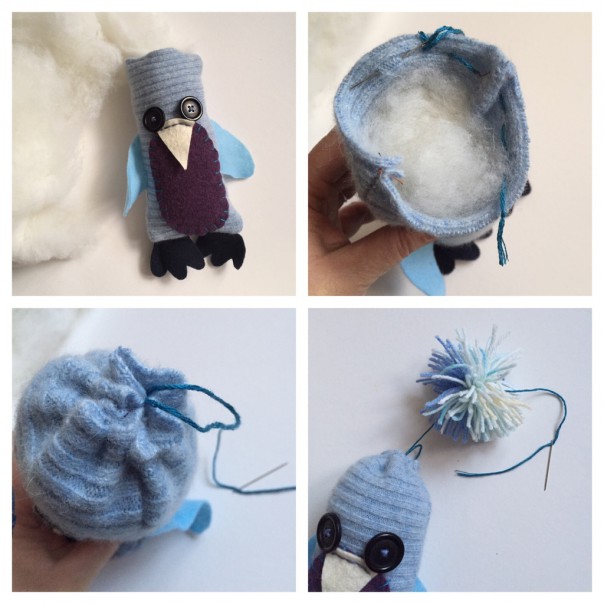
Turn the penguin inside out and fill with stuffing.
Tip: I buy inexpensive fibre filled bed pillows to use for toy stuffing.
Sew a running stitch all around the top of the penguin then pull together like a drawstring and tie a few knots to secure.
Leave the needle on the thread
Make a pom pom and sew through a few times to secure it to the penguin’s head.
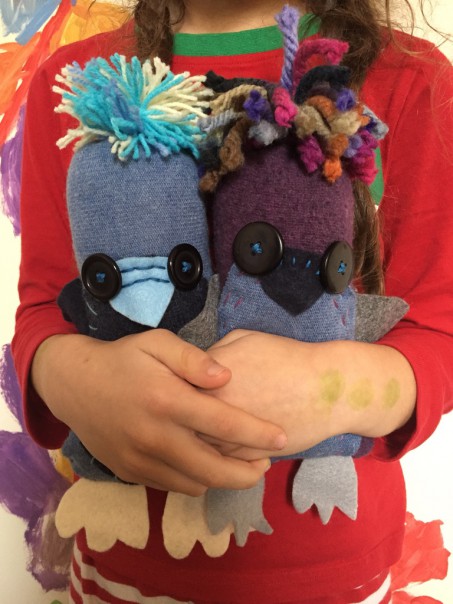
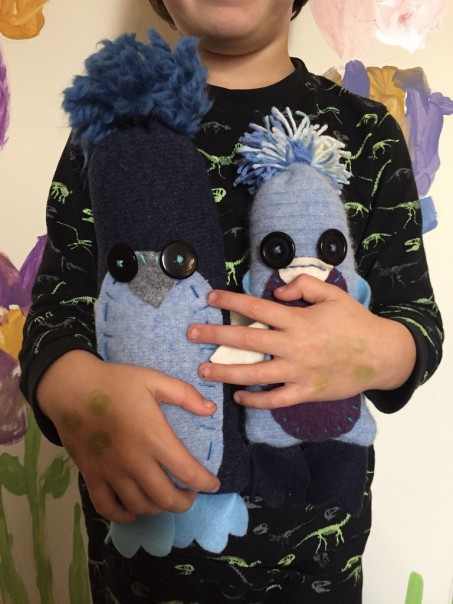
Give your Penguin softie a cuddle!
Recycle some worn out woolly jumpers and turn them into little softies you’ll love forever.

Using embriodery thread and a stitch of your choice, sew an oval shaped tummy on to the front piece of the penguin body.
Cut a beak shape out of felt (we trimmed it down once the penguin was finished) and sew on to the top of the tummy panel.
Sew two buttons on for eyes.

Pin around three sides leaving the top open.
Sew around the edges using running stitch by hand or sew a zig zag stitch on a sewing machine.

Tip: I buy inexpensive fibre filled bed pillows to use for toy stuffing.
Sew a running stitch all around the top of the penguin then pull together like a drawstring and tie a few knots to secure.
Leave the needle on the thread then make a pom pom and sew through a few times to secure it to the penguin’s head.


Recycle some worn out woolly jumpers and turn them into little softies you’ll love forever.

Using embriodery thread and a stitch of your choice, sew an oval shaped tummy on to the front piece of the penguin body.
Cut a beak shape out of felt (we trimmed it down once the penguin was finished) and sew on to the top of the tummy panel.
Sew two buttons on for eyes.
Pin around three sides leaving the top open.
Sew around the edges using running stitch by hand or sew a zig zag stitch on a sewing machine.
Tip: I buy inexpensive fibre filled bed pillows to use for toy stuffing.
Sew a running stitch all around the top of the penguin then pull together like a drawstring and tie a few knots to secure.
Leave the needle on the thread then make a pom pom and sew through a few times to secure it to the penguin’s head.