Create wonderful patterns with this foamy, painty, messy fun.
This is one of our favourite activities and we do it fairly regularly. It can occupy the boy and girl (and me!) for a good couple of hours.
I first found out about how to do this from The Artful Parent (a great resource for all things creative).
What you’ll need:
Shaving foam (I get the basic supermarket stuff for about 50p a can)
Shallow tray (baking trays or disposable foil trays)
Ready mixed paint or watercolour inks
Wooden skewer or old pencil
Paper (printer paper or cartridge)
30cm ruler
Oilcloth or plastic table covering
Bowl of water and towel nearby!
What to do:
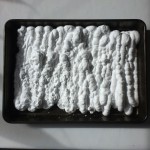
Squirt a layer of shaving foam in a shallow tray.
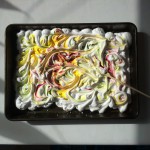
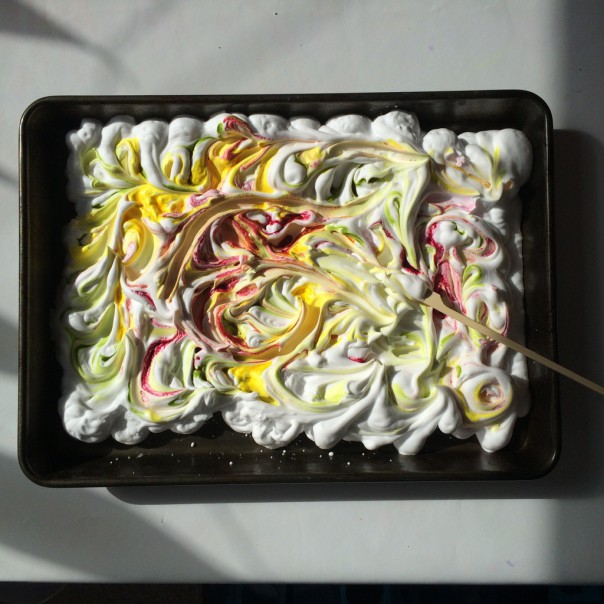
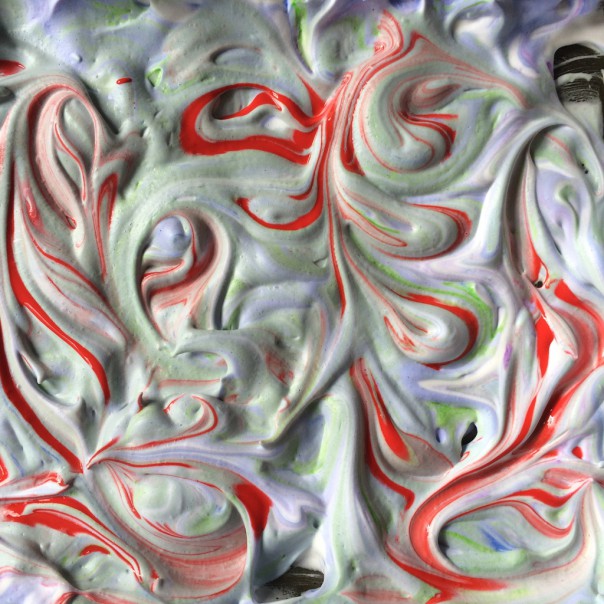
Dribble paint or inks over the top.
Swirl paint around with a wooden skewer, old pencil or fingers.
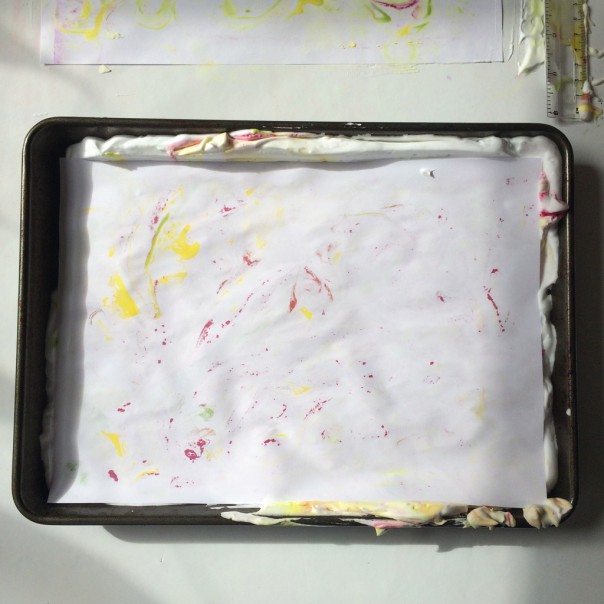
Lay a piece of paper over the top, smooth gently.
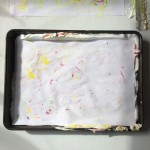
Lift paper off and lay on a flat surface.
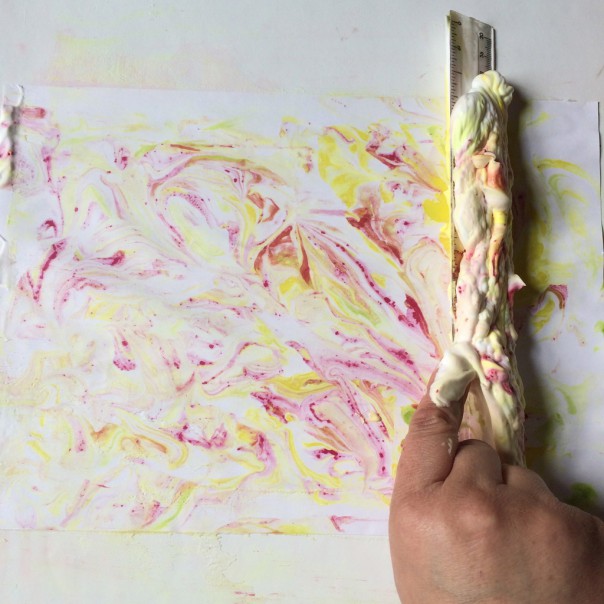
Scrape the foam off using a ruler, starting at one narrow end with the ruler upright, and a firm movement.
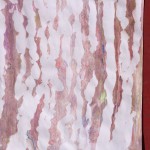
Leave marbled paper to dry.
Repeat the process with different colours added (each layer of shaving foam will yield up to 5 prints, depending on amount of paint used).
Once your papers are dry you can use them to make cards, pictures or collages. The possibilities are endless. Decorated papers are great to keep in a drawer for future projects.
As with most paint activities it’s always best to wear old clothes and aprons, cover your work area with an oilcloth or plastic tablecloth and keep a bowl of warm soapy water and a towel nearby!
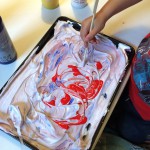
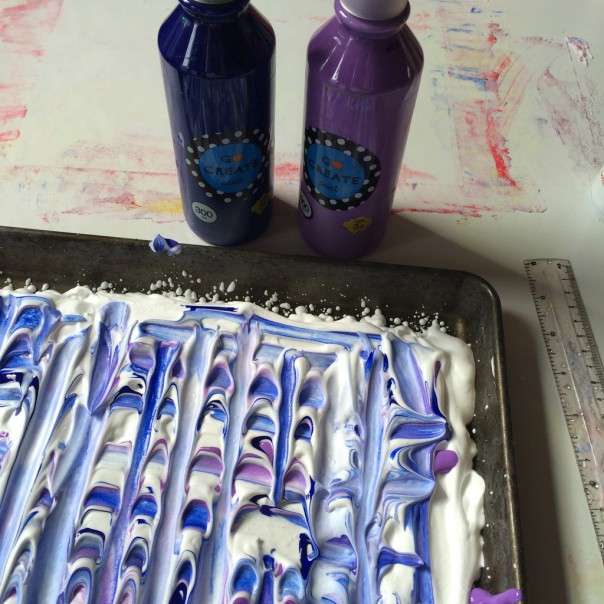
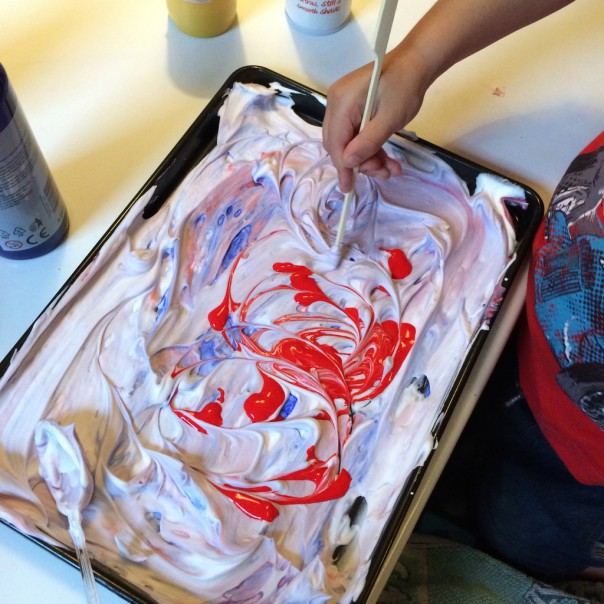
Spray a layer of shaving foam into a baking tray.
Dribble paint on the top.
Use a wooden skewer, old pencil or fingers to swirl the paint around.
Lay a piece of paper on the top and smooth lightly.
Lift off the paper.
Lay the paper on a flat surface.
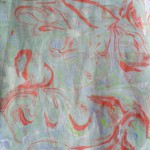
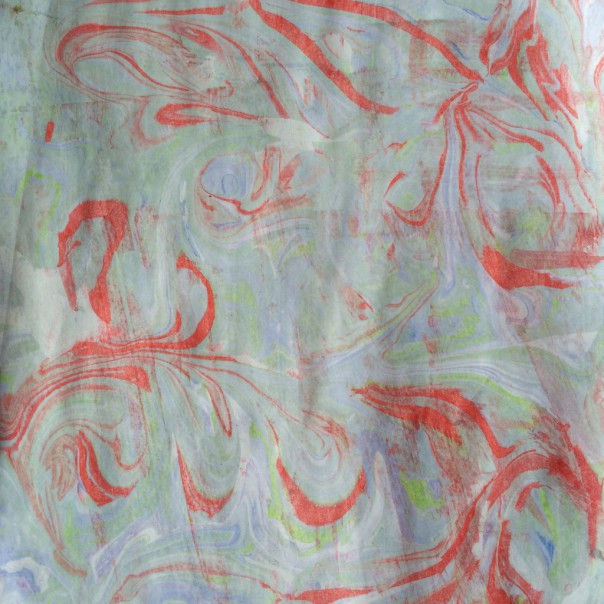
Using a ruler, scrape the excess shaving foam off the paper in one firm movement. Marbled paper!
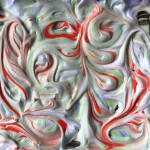
Experiment with different colours and patterns.
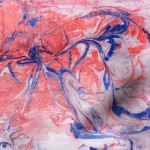
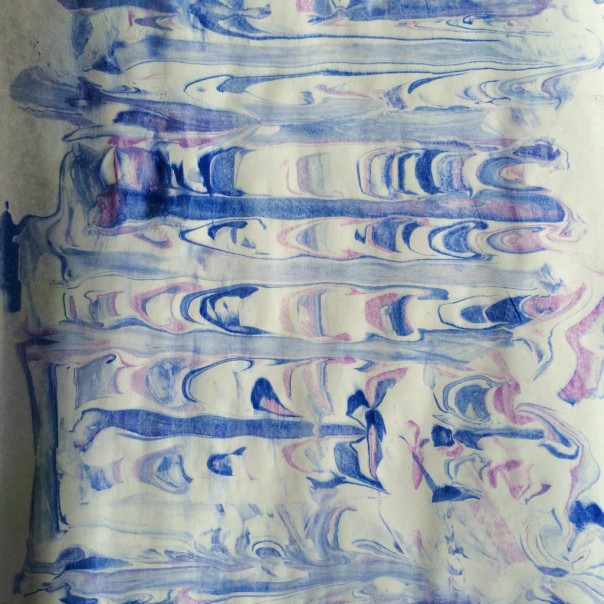
Blue and purple feathered lines.
Shaving Foam Marbling
Red and green swirl.
One layer of shaving foam will take 4 or 5 prints, adding new paint each time.
Blue and red star swirl.
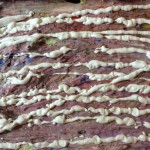
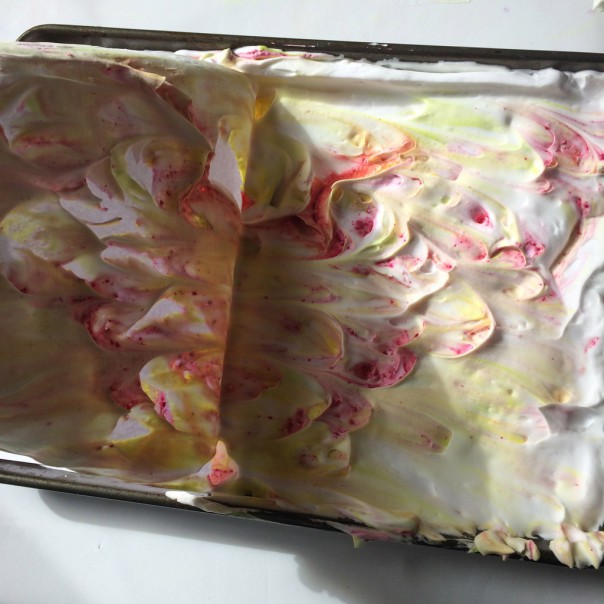
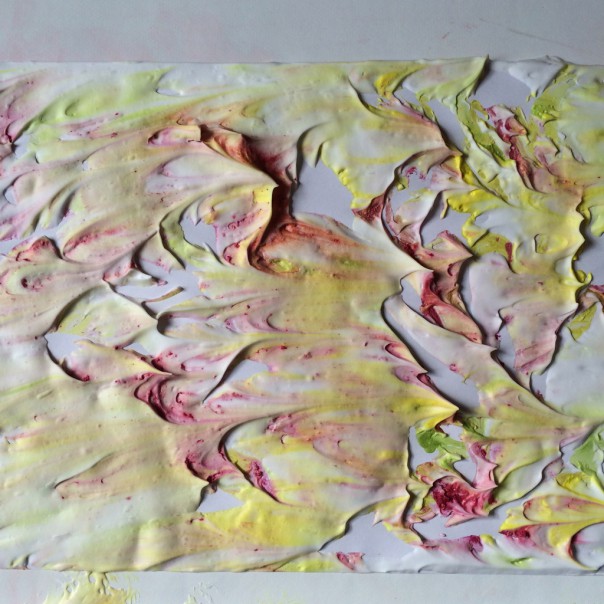
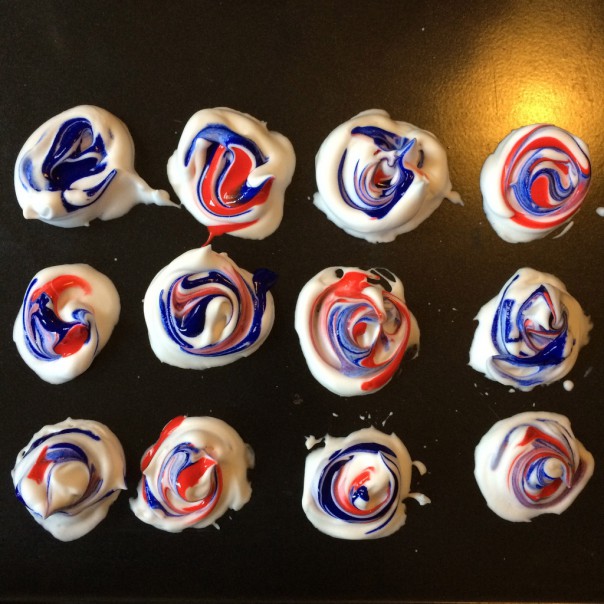
I experimented by using the foam as a base pattern. Squirt dollops of foam on a tray and then paint swirls on top.
The negative pattern came out rather well.
Again, use the white shaving foam as a tool itself – squirt lines or patterns over a painted base.